How to Remove a Vehicle Wrap Without Damaging the Paint
Wrap removal is part of the job, and doing it wrong costs you customers. Here's a step-by-step guide to clean removal — and how to handle difficult situations.
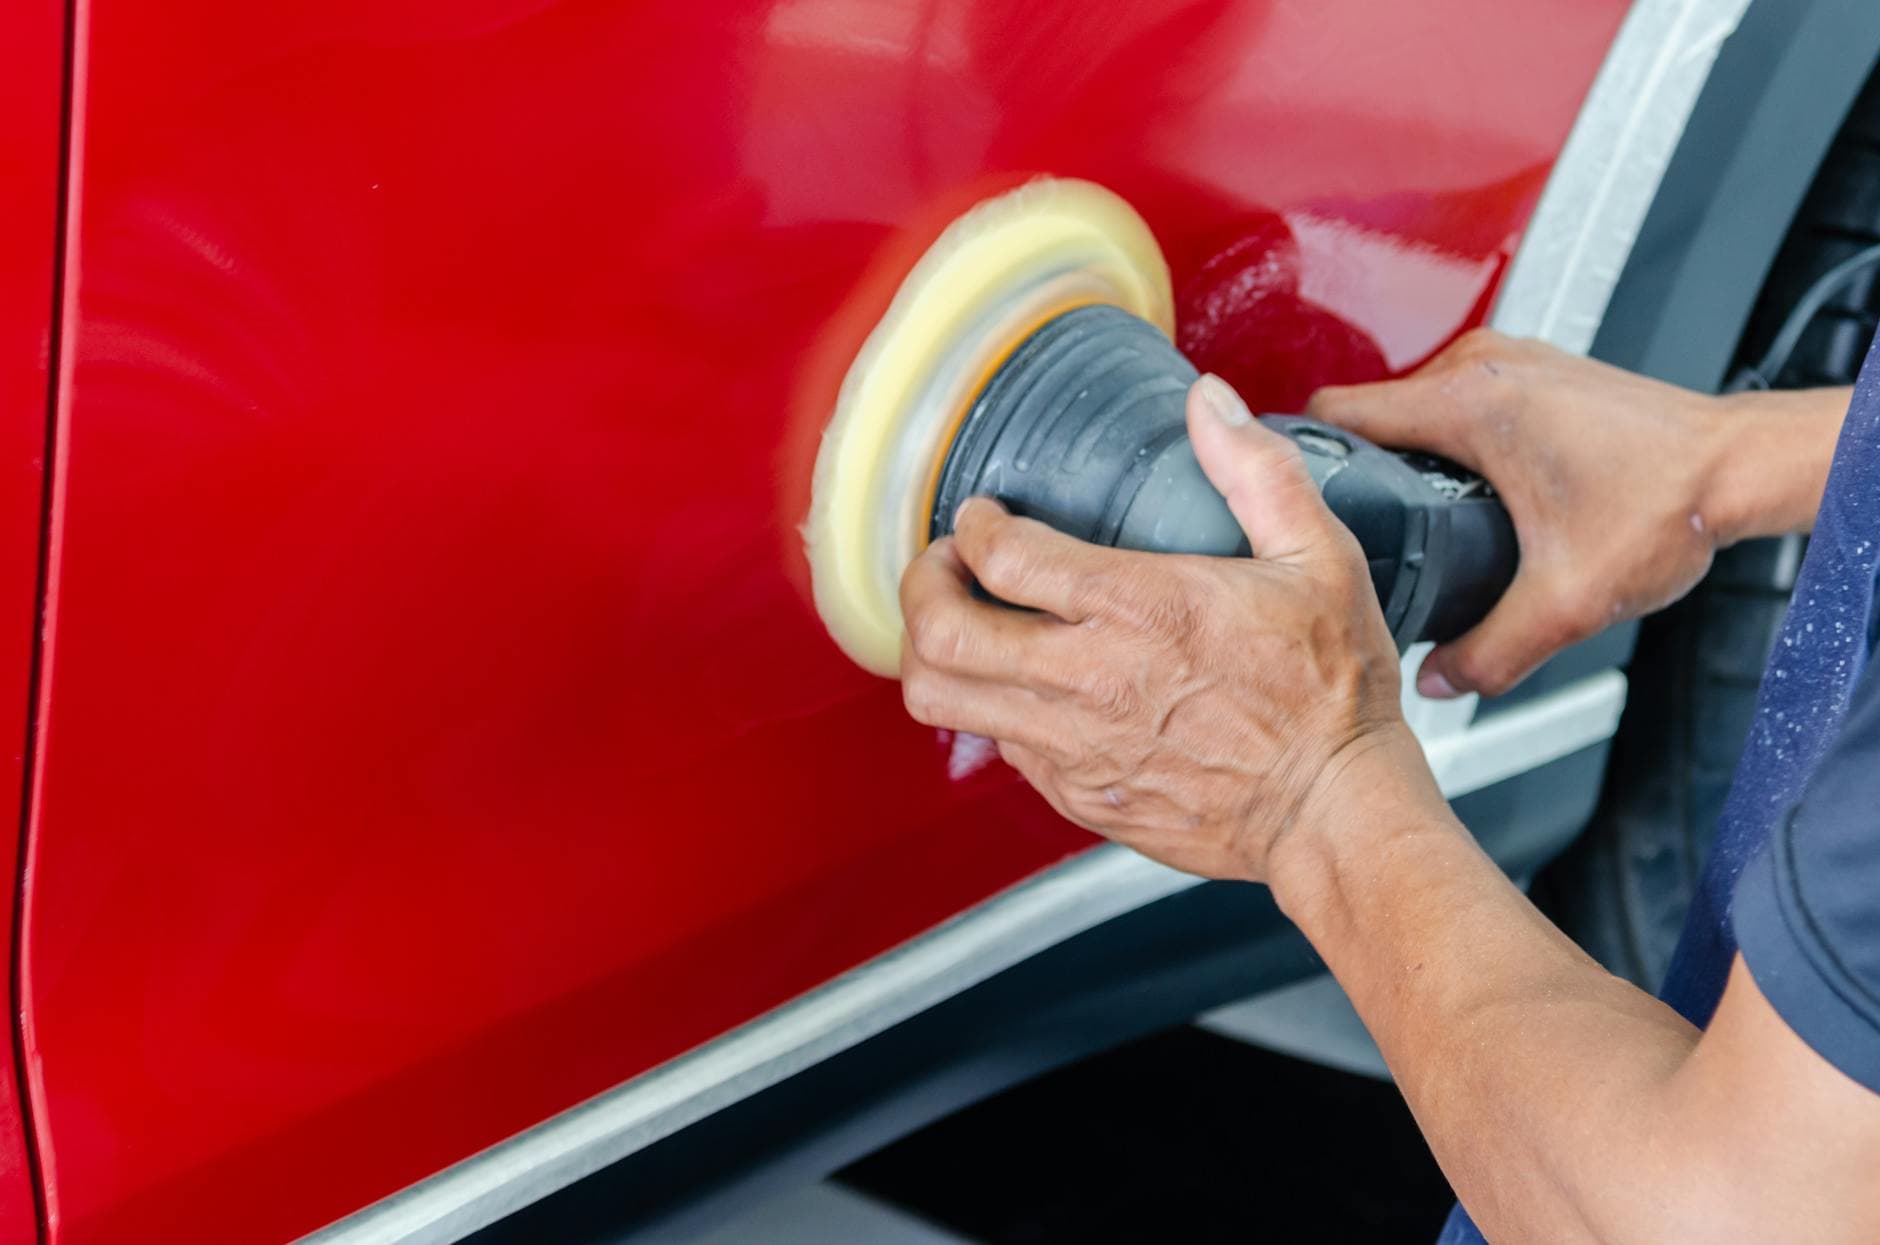
Table of Contents
Wrap removal is one of the most common sources of shop disputes. A customer brings in a car expecting their original paint underneath — and if they find adhesive residue, ghost lines, or paint damage, the conversation gets difficult fast. Getting removal right protects both the customer's car and your reputation.
When Wraps Come Off Cleanly — And When They Don't
A wrap installed correctly on properly prepared paint, maintained well, and removed within its rated lifespan comes off in large sheets with minimal adhesive residue. The chemistry is working as designed.
Problems happen when:
- •The wrap is past its lifespan. Vinyl that's been on 7+ years (or 5+ in harsh sun exposure) degrades. The plasticizers break down, the film becomes brittle, and it tears into small pieces instead of pulling in sheets.
- •The paint was damaged under the wrap. Rust, flaking clearcoat, or chipped edges hold the adhesive differently. Aggressive removal can pull the clearcoat with it.
- •The vinyl was applied over existing damage. Some shops apply wrap over peeling paint as a temporary fix. Removing it later removes whatever paint is still bonded.
- •Low-quality vinyl was used. Cheap calendered vinyl from unknown suppliers leaves more residue and tears more easily than branded cast films.
Before quoting a removal job, inspect the vehicle and document what you see. Photos of the wrap condition before you touch it protect you if there's a dispute.
Step-by-Step Removal Process
Step 1: Warm the vinyl
Use a heat gun or infrared lamp to warm a starting edge to 100–130°F. You want the vinyl pliable, not hot enough to burn the paint. Work in sections of 12–18 inches.
A surface thermometer or temp gun is worth the investment — it removes the guesswork and prevents overheating dark-colored vehicles in direct sun.
Step 2: Lift the edge and pull at the right angle
Start at a panel edge (door edge, bumper seam) rather than in the middle of a panel. Lift the edge with your fingernail or a plastic trim tool. Once you have a tab, pull back at a 45-degree angle — not straight up.
Pulling straight up (90 degrees) puts more stress on the adhesive bond and is more likely to lift clearcoat, especially on older or thinner paint. The 45-degree pull releases the adhesive more gradually.
Step 3: Pull slowly and evenly
Speed matters. Fast pulling tears the film and leaves adhesive behind. Slow, even pulling — almost peeling — keeps the film intact and brings the adhesive with it.
If the film starts to tear, stop, re-warm the section, and try again. Cold vinyl tears. Warm vinyl stretches.
Step 4: Adhesive residue removal
Even a clean removal leaves some adhesive residue. Options:
- •Isopropyl alcohol (90%+) — safe on clearcoat, removes light residue
- •3M Adhesive Remover — stronger, handles heavier residue from older wraps
- •Rapid Remover by Avery — spray-on formula designed specifically for vinyl adhesive
Apply with a microfiber cloth using light circular pressure. Don't use abrasive pads or steel wool — they scratch clearcoat.
For stubborn spots, let the adhesive remover dwell for 30–60 seconds before wiping. The chemistry needs time to work.
Step 5: Final wash and inspection
After adhesive removal, wash the entire vehicle with a pH-neutral soap. Inspect in good lighting for:
- •Remaining adhesive hazing
- •Ghost lines (faint outlines where vinyl edges were)
- •Any pre-existing paint damage that's now visible
Document the final paint condition with photos. If there's pre-existing damage you noted before removal, have the documentation ready.
Difficult Removal Scenarios
Old or brittle vinyl: Heat more aggressively and work in smaller sections. Some shops use a plastic razor blade to lift sections that won't pull free. Never use metal blades — they scratch clearcoat.
Failed adhesive (residue-heavy removal): Try Rapid Remover or a citrus-based adhesive remover. For extreme cases, a low-speed polisher with a foam pad and adhesive remover can remove residue without damaging paint.
Damage under the wrap: Stop and photograph immediately. Inform the customer before proceeding. If paint is clearly compromised, agree in writing about what the shop is and isn't responsible for before continuing.
Pricing Removal Jobs
Removal-only jobs are typically priced at:
- •Partial removal (bumpers, hood): $150–$350
- •Full vehicle removal: $400–$800
- •Aged/difficult removal: $600–$1,200+
Don't underquote difficult removals. An 8-year-old wrap that tears on every panel can take 8+ hours. If you can inspect before quoting, do it.
Track every removal job in Wraptor with pre- and post-removal photo documentation and customer sign-off on paint condition. It protects you if questions come up later.

Sal Lara
Founder, Wraptor
Sal runs a vehicle wrap and tint studio and built Wraptor to handle the operations work he was sick of doing in spreadsheets. Writes about pricing, materials, and shop ops from inside the trade.
▚ Keep reading · For Wrap Buyers
▚ Next steps
The Wraptor Newsletter
Pricing data, material tips, and business strategies delivered weekly.