How to Wrap Bumpers, Mirrors, and Door Handles
Panel-by-panel technique for the hardest ten percent of a wrap — bumper corners (relief cuts vs stretch), mirrors (precut vs bulk), door handles (remove vs wrap around), and where pros choose an inlay over a heroic stretch.
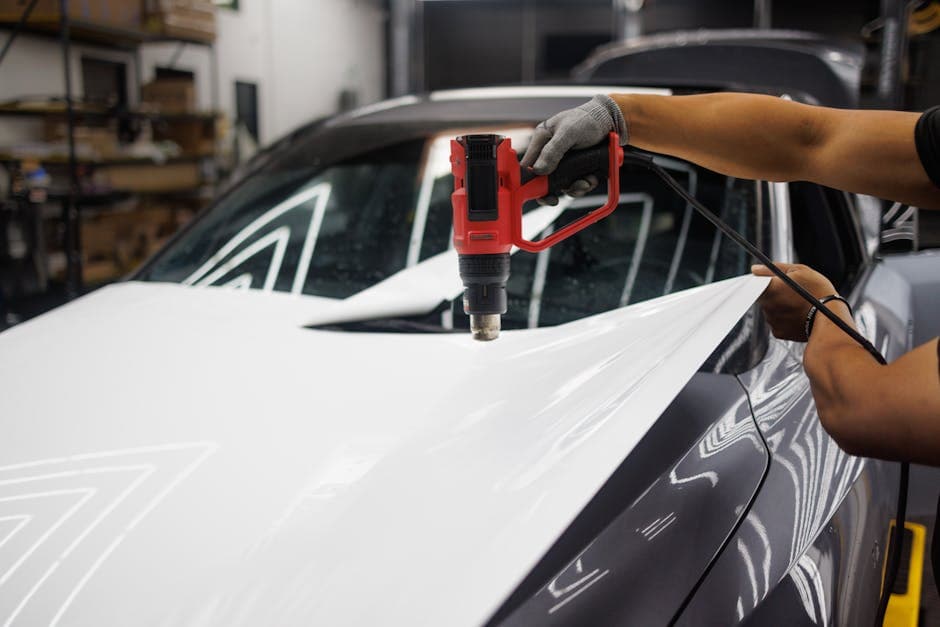
Table of Contents
Anyone can wrap a hood. Wraps are won and lost on the last ten percent — bumper corners, mirrors, and door handles — which is exactly where customers run their fingers and where most early failures start. Here's the panel-by-panel approach, including the decision points where good installers diverge from strugglers: relief cut or stretch, precut or bulk, remove or wrap around.
The Ground Rules That Apply Everywhere
Three fundamentals decide these panels before technique does:
- •Prep the recesses individually. Handles, bumper vents, and mirror bases hold the wax and grime a general wash misses — and they're where the film needs its best bond. Alcohol and swabs, panel by panel.
- •Keep stretch under roughly 25%. Past that, cast film is loaded with memory it will spend the summer releasing. If a corner demands more, the answer is a relief cut or an inlay, not more heat and more muscle.
- •Post-heat everything you stretched — typically to 200–220°F (93–104°C), measured with an IR thermometer, not by feel. Stretched film that never got post-heated is a comeback with a delivery date.
Bumpers
Modern bumpers are the hardest large panel on the vehicle: compound curves in every direction, grilles, sensors, and textured lower trim all interrupting the film.
Survey before film touches plastic. Locate every parking sensor, count the vents, and decide where each edge will finish. Sensors get cut around cleanly and never wrapped over — a covered sensor is a callback and possibly a safety complaint. Decide up front whether the lower grille surrounds are wrap or trim-out.
Corners: relief cuts vs stretch. The corner of a bumper is a compound curve, and there are two honest ways through it:
- •Controlled stretch works on shallower corners: warm the film evenly, use big flat hands and let the film's conformability do the work, then post-heat thoroughly. The test is the stretch budget — if the corner needs the film to distort visibly or the printed pattern to warp, it's past the budget.
- •Relief cuts are the pro move on deep corners: a deliberate cut placed where the eye won't find it — in the wheel-arch return, under the corner's lowest edge, or along a body line — that releases the tension so each section lays with minimal stretch. One clean hidden seam beats a drum-tight corner that lets go in August.
Wrap the edges. Bumper edges live in the wind and the car-wash brushes. Take 5–7mm around every edge and into the arch, and post-heat the wrapped returns.
Mirrors
Mirrors are the smallest panel and the most compound surface on the car — a sphere with a stalk, wrapped at eye level.
Precut vs bulk. Precut mirror patterns for common models cost a little film efficiency but remove most of the fight: the pieces are sized so each section stays inside its stretch budget. Bulk-wrapping gives you full edge wrap and works on anything — at the cost of more skill, more heat, and more scrap while you learn. Working rule: patterns for volume work on popular models; bulk skills for everything the pattern library doesn't cover.
Take things apart when the design allows. A mirror cap that unclips is a panel you can wrap on the bench in a fraction of the time, with every edge wrapped properly. Check clip fragility on the specific model before prying — a broken cap erases the time savings.
Two pieces beat one hero piece. Most bulk mirror wraps lay cleaner as two sections with the seam on the underside of the housing, where nobody looks. And go easy on the heat: thin mirror caps deform if you cook them, and a warped cap shows through the film permanently.
Door Handles
The handle area concentrates everything hard about wrapping into ten square inches: a recessed cup, a moving part, tight radii, and a customer's fingers on it twenty times a day.
Remove vs wrap around. Pulling the handles gives a factory-level finish — film flows through the recess uninterrupted, no relief cuts, no tuck lines. The cost is time and risk: on some models handle removal is a two-minute clip job, on others it involves door cards and cables, and aged clips break. Price removal into the job where the model makes it cheap; wrap around where it doesn't.
*Wrapping around the handle:*
- •Wrap the recessed cup first as its own small inlay piece, so the deepest stretch zone is already handled
- •Lay the main panel, then make a minimal relief cut behind the handle to let the film pass around it
- •Work the film into the gaps with a micro-squeegee, keeping tension low
- •Finish the trailing edge with knifeless tape rather than a blade — this is exactly the cut-on-paint zone where blades cause damage
- •Post-heat the whole area; it's all stretched film in a high-touch zone
Where Pros Choose Inlays
An inlay — a separate piece seamed on a natural line instead of one continuous stretched sheet — is the move that separates durable work from impressive-for-a-month work. The usual candidates:
- •Deep bumper corners and lower valances
- •Handle cups and recessed pulls
- •Fog-light surrounds and bumper vents
- •Deep body-line channels where one piece would need extreme stretch
The trade is honest: an inlay adds a seam you place deliberately; a heroic stretch adds tension the film releases somewhere you don't choose. Customers never notice a seam on a body line. They always notice a lifted corner.
The Fingertip Test
Before the vehicle leaves: run a fingernail along every bumper edge, handle recess, and mirror seam. Anything that clicks, lifts, or feels proud gets re-pressed and re-heated now — because the customer will run the same test in their driveway, every day, for years.
Clean corners, mirrors, and handles are exactly what shops look for in a portfolio. A Wraptor installer profile puts that work in front of them — photos, badges, and verified-hire reviews. Get listed →

The Wraptor Team
Wrap-industry veterans
The Wraptor team is made up of wrap-industry veterans — shop owners, installers, and designers — writing about pricing, materials, and shop operations from inside the trade.
▚ Keep reading · For Independent Installers
The Wraptor Newsletter
Pricing data, material tips, and business strategies delivered weekly.