How to Use Knifeless Tape: Finish Line vs Design Line, Step by Step
How knifeless tape works, when to use Finish Line vs Design Line, the step-by-step technique for laying tape and pulling the filament, and the mistakes that ruin the cut.
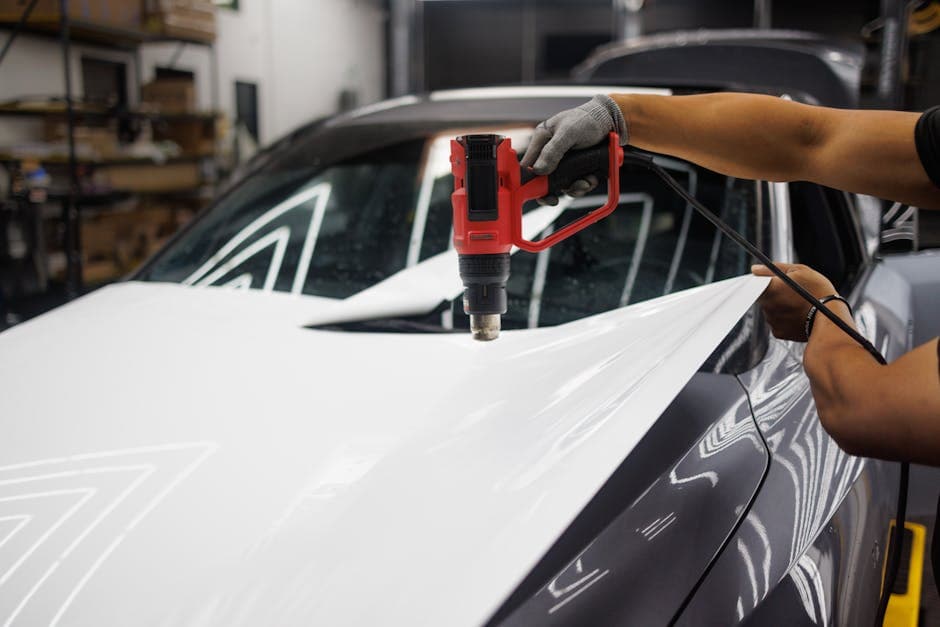
Table of Contents
Knifeless tape is the reason modern installers can put a razor-straight cut line anywhere on a vehicle without ever bringing a blade near the paint. It's a thin tape carrying a filament: you lay the tape where you want the cut, wrap over it, then pull the filament up through the vinyl from underneath — cutting the film cleanly along the exact path you laid. No blade, no scored clear coat, no guessing.
If you're still building your fundamentals, start with the full wrap process — knifeless work assumes your prep and squeegee technique are already solid.
Finish Line vs Design Line
The two workhorses do different jobs:
- •Finish Line is the general-purpose tape — long straight runs, panel lines, edges, two-tone splits, and gentle curves. It carries a sturdier filament that handles long pulls and thicker film without snapping, which makes it the default for stripes, roof splits, and trimming along body lines.
- •Design Line is built for curves. Its finer filament and narrower profile bend into tight radii that Finish Line can't follow, which is what you want for curved graphics, swooshes, and intricate shapes.
The practical rule: if the line is straight or gently curved, Finish Line; if the line turns hard, Design Line. Most installers keep both in the kit and burn through far more Finish Line.
Specialty variants exist beyond the big two — multi-filament tapes that cut twin parallel lines for stripe gaps, and versions built for thicker films and paint protection film. Worth knowing they're on the shelf; not worth stocking until a job demands one.
Where You'll Actually Use It
- •Two-tone splits — roof lines, belt lines, hood stripes, anywhere two colors meet on an open panel
- •Trimming to a line with no natural edge — partial wraps and commercial graphics that end mid-panel
- •Racing stripes and accents — both edges of every stripe, laid before the stripe goes down
- •Finishing edges near paint — anywhere your blade would otherwise ride against clear coat
- •Inlays in deep recesses — cut the film in place without carving the channel
Step by Step
1. Prep the surface like you mean it
The tape bonds to the panel the same way vinyl does — wax or contamination under the tape means it shifts when you squeegee over it, and your straight line isn't. Clean and degrease the cut path exactly as you would for film.
2. Lay the tape along your line
Lay the tape with light, even tension along the path you want cut. On straight runs you can pull longer sections taut; on curves, feed it with almost no tension — stretched tape wants to pull back straight and will creep before you wrap. Leave a 2–3 inch tail hanging past each end of the cut; that tail is how you'll grab the filament later.
3. Burnish it down
Press the tape down firmly along its whole length. Any spot that isn't fully seated can shift under the squeegee or telegraph through the film.
4. Wrap over it
Install the vinyl right over the tape as normal. Squeegee fully, including over the tape line itself — the film needs to be properly adhered on both sides of the future cut, or the edges will lift the moment the filament goes through.
5. Pull the filament
Find the tail, separate the filament, and pull it back against itself at a sharp angle — low and back along the line, not up and away from the panel. Keep the pull slow, steady, and continuous; the filament slices up through the film as it goes. Support the offcut side with your free hand so the waste film doesn't tear away unevenly.
6. Remove the waste and seal the edge
Peel the offcut, lift out the remaining tape base, and squeegee the fresh cut edge down firmly. If the cut sits in a stretched or recessed area, post-heat it like any other edge.
When a Blade Is Still the Right Tool
Knifeless tape doesn't retire the knife. Cuts backed by something that isn't paint — trimming into panel gaps against rubber seals, cutting on the glass line, slicing off bulk overhang mid-air — are still faster and cleaner with a fresh blade. The rule worth keeping: the blade never touches a painted face. Everything on paint gets tape.
The Mistakes That Ruin the Cut
- •Stretching the tape around curves — it creeps back while you wrap, and the cut lands somewhere you didn't draw
- •Forgetting the tail — a buried filament end with nothing to grab means digging at your finished film
- •Pulling too fast or at the wrong angle — snapped filament mid-line is recoverable, but not fun
- •Under-squeegeed film over the tape — the filament cuts, then both fresh edges lift because they were never bonded
- •Leaving tape under film for days — lay, wrap, and pull in the same session; don't leave tape buried under film longer than the job requires
- •Using one tape for everything — Finish Line forced around a tight curve gives you a faceted "curve" made of straight segments
How to Practice Without Ruining a Job
The learning curve is short but real, and the middle of a customer's hood is the wrong classroom. Lay tape and pull filament on a scrap panel or a glass door first — glass shows you instantly whether your pull angle is consistent, because the cut line has nowhere to hide. Practice three things in order: straight pulls of increasing length, gentle S-curves, then a tight radius with Design Line. A single practice session covers the cost of the tape many times over in avoided recuts.
Clean knifeless work is one of those skills that separates tiers of installers — it shows up in every two-tone, every stripe, and every trimmed edge in your portfolio. It's also a staple of the hands-on tests in manufacturer certification programs, for exactly that reason.
Skills like this are what shops hire for. Put your work where they're looking — a Wraptor installer profile with portfolio shots and verified-hire reviews keeps the calendar full. Get listed →

The Wraptor Team
Wrap-industry veterans
The Wraptor team is made up of wrap-industry veterans — shop owners, installers, and designers — writing about pricing, materials, and shop operations from inside the trade.
▚ Keep reading · For Independent Installers
Business · 7 min read
How Much Do Vinyl Wrap Installers Make in 2026? (Employee, Freelance & Owner Numbers)
Business · 7 min read
Do You Need a Certification to Install Wraps? (3M, Avery, PDAA Explained)
Business · 7 min read
Wrap Installer Jobs in 2026: Where to Find Them (and When to Skip the Job Hunt)
The Wraptor Newsletter
Pricing data, material tips, and business strategies delivered weekly.