Bleed, Seams, and Panel Layout: Prepping Wrap Files for Print
How to take an approved wrap design to production-ready print files — bleed allowances, seam placement on body lines, panel layout for 54-inch rolls, why gradients across seams bite, and export-at-scale conventions.
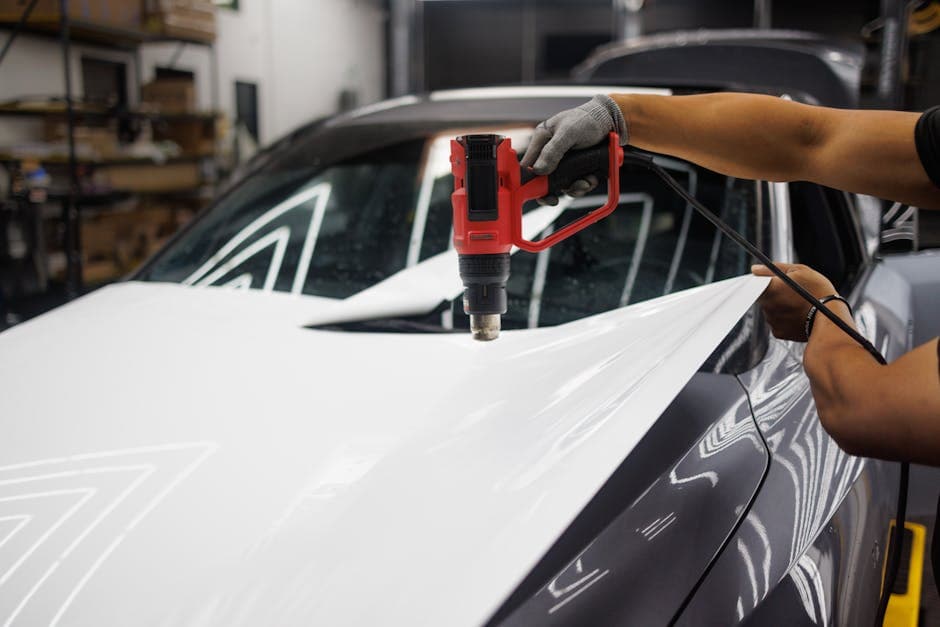
Table of Contents
An approved design is halfway to a printed wrap. The other half is production prep — bleed, seams, and panel layout — and it's the half that decides whether the installer blesses your name or rebuilds your file at 9pm before an install. This guide picks up where the Illustrator wrap workflow leaves off: the design is done, and now it has to survive contact with a printer, a roll of vinyl, and a vehicle.
Why Print Files Are Their Own Discipline
A wrap isn't printed as one piece. It's printed as panels — strips sized to the roll — that an installer aligns on the vehicle by hand, trims at the edges, and stretches into recesses. Every one of those physical realities eats artwork. Production prep is the practice of giving the file enough margin, in the right places, that the physical process can't expose it.
Bleed: 2–4 Inches Past Every Edge
Bleed on a wrap panel is not the eighth-inch you'd put on a business card. The working convention is 2–4 inches of extra printed artwork beyond every panel edge, at full scale.
That margin gets consumed three ways:
- •Trimming. Installers cut panels in place; the blade needs artwork to cut into, not white film.
- •Stretch and drift. Film moves during install. A panel that lands half an inch off its theoretical position must still have art at the edge.
- •Wrapped edges. Edges wrap around panel lips and into recesses — those wrapped faces show, and they need to be printed, not blank.
Extend the artwork itself, don't just scale the panel up — scaled art shifts every alignment relationship in the design. Backgrounds and textures extend trivially; hard graphic elements near edges are exactly the things you should have kept away from edges in the design phase.
Seams: Put Them Where the Vehicle Already Has Lines
A seam is where two panels meet on the vehicle. The craft is making seams invisible by putting them where the eye already expects a break:
- •Body lines and creases hide seams almost perfectly — the shadow line masks the overlap
- •Door gaps and panel gaps are natural seam locations, since the film breaks there anyway
- •Never mid-face on a large flat area of continuous color or fine texture, where the overlap edge and any slight color shift sit in plain view
- •On box trucks and trailers, vertical seams at regular roll-width intervals are the standard rhythm — pick the wall's visual features (rivet lines, ribs) as allies where you can
Plan overlap direction too: panels typically shingle so the visible edge faces away from the primary viewing angle, and consistent overlap — commonly around half an inch to an inch — keeps the rhythm even.
Panel Layout for 54-Inch Rolls
The standard wrap roll is 54 inches wide, and the printable width after media margins is slightly less — plan panels around 52–53 inches of usable width and confirm the exact figure with whoever runs the printer.
The layout decisions:
- •Orientation. Vehicle sides commonly run horizontal panels stacked in rows; tall box-truck walls run vertical panels side by side. Fewer seams beats less waste when the two conflict.
- •Count. A van side taller than one roll width is a two-panel wall with one horizontal seam — put that seam on the body line, not at random height.
- •Labeling. Name every panel (driver side P1, P2…), include a small placement key, and mark lap lines so the installer knows what overlaps what.
Panel math is also order math — panels plus bleed plus overlap is what actually comes off the roll, which is why the footage tables in how much vinyl it takes to wrap a car always carry a waste factor.
Gradients Across Seams: The Classic Bite
Every experienced production designer has one gradient story. Here's why they bite:
- •Two panels printed at different times, positions on the roll, or roll lots can carry a slight density or color shift. On solid brand color it's usually invisible; across a smooth gradient it reads as a hard step exactly at the seam.
- •A misaligned hard-edged graphic forgives a sixteenth of an inch. A gradient running across a seam turns the same misalignment into a visible discontinuity in the blend.
The defenses: keep gradient transitions inside single panels; run gradients along the seam direction rather than across it; and when a design genuinely must blend across panels, print all panels in one run, on one roll lot, and tell the installer the seam is critical.
Export at Scale
Production files ship as PDF at a stated scale — full scale where file-size limits allow, half or quarter scale otherwise. The conventions that prevent phone calls:
- •State the scale on the file and in the filename; a file with no stated scale is a guess
- •Fonts outlined, images embedded, effective image resolution checked at output size
- •One artboard or page per panel, in order, with the placement key included
- •Cut lines, if any, carried as properly named spot colors — the contour-cut conventions have their own rules
- •A note for lamination and any color-critical panels
The Handoff Checklist
- •2–4 inches of true artwork bleed past every panel edge
- •Seams on body lines and gaps; nothing mid-face; overlap direction and amount consistent
- •Panels sized to real printable width, labeled, with a placement key
- •No gradient transitions crossing seams
- •Scale stated, fonts outlined, images embedded
- •Written client approval on file before any of it prints
Files prepped this way make you the designer whose work "just prints" — which, in the wholesale market, is the entire brand.
WrapStudio does this half of the job natively — per-side bleed, one-click panelization to your media width with lap lines printed where the next panel lands, and print PDFs with true CutContour separations. See what Wraptor does for wrap designers →

The Wraptor Team
Wrap-industry veterans
The Wraptor team is made up of wrap-industry veterans — shop owners, installers, and designers — writing about pricing, materials, and shop operations from inside the trade.
▚ Keep reading · For Wrap Designers
▚ Next steps
The Wraptor Newsletter
Pricing data, material tips, and business strategies delivered weekly.